- Blog/
How to deploy Nuxt JS on Kubernetes Cluster (Part 1)
Table of Contents
Introduction #
Kubernetes is a fully managed container …
I am a big fan of Nuxt.js, recently created my personal blog where you read this post. I decided to host my personal blog Nuxt.js application on my self-managed Kubernetes cluster. On the way of deployment, I gained quite an amount of experience how to containerize a Nuxt.js application.
Since Nuxt.js supports full static application, our Nuxt.js application will be around 50MB, which is great!
Prerequisites #
Before you get started, you will need to have a number of things.
yarn
Install Nuxt.js #
yarn create nuxt-app nuxt-k8s
create-nuxt-app v3.6.0
✨  Generating Nuxt.js project in nuxt-k8s
? Project name: nuxt-k8s
? Programming language: TypeScript
? Package manager: Yarn
? UI framework: Buefy
? Nuxt.js modules:
? Linting tools: (Press <space> to select, <a> to toggle all, <i> to invert selection)
? Testing framework: None
? Rendering mode: Universal (SSR / SSG)
? Deployment target: Static (Static/Jamstack hosting)
? Development tools: (Press <space> to select, <a> to toggle all, <i> to invert selection)
? What is your GitHub username?
? Version control system: Git
Running Nuxt Application #
Now, let’s run our application with:
cd nuxt-k8s
yarn run dev
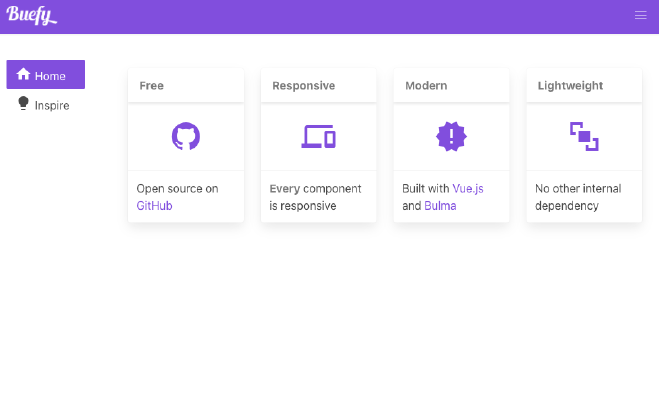
If you access localhost:3000 you will see the application.
Dockerization #
Every application that runs on Kubernetes is nothing but a container. So, we need to create Dockerfile for our Nuxt.js application. For this tutorial, we will deploy a fully static website. Eventually, Nuxt.js has already a built-in mechanism to generate our static files.
Our Dockerfile will have two main stages. If you want to learn more about
multi-stage Dockerfile, check
How to Create Multi-stage Dockerfile post.
The first stage will install dependencies and generate static files, the second stage will serve these static files with Nginx.
Let’s create Dockerfile in the application codebase.
touch Dockerfile
Paste the following content in the created file.
# Build Stage
FROM node:lts-alpine as build-stage

ENV NODE_ENV=production
ENV APP_HOME=/usr/src/app

RUN mkdir -p $APP_HOME

COPY . $APP_HOME

RUN cd $APP_HOME && yarn install \
  --prefer-offline \
  --pure-lockfile \
  --non-interactive \
  --production=true

WORKDIR $APP_HOME

RUN yarn run generate

# Production Stage
FROM nginx:stable-alpine as production-stage

ENV APP_HOME=/usr/src/app

COPY --from=build-stage $APP_HOME/dist /usr/share/nginx/html

RUN chown nginx:nginx /usr/share/nginx/html

EXPOSE 80

CMD ["nginx", "-g", "daemon off;"]
Build Docker Image #
Once we created our Dockerfile, now we can good to create our docker image.
docker build -t nuxt-k8s .
If everything went well, check the image and its size:
❯ docker image ls
REPOSITORY   TAG       IMAGE ID       CREATED          SIZE
nuxt-k8s     latest    c8c54ee0d07f   15 minutes ago   23.7MB
As we generate only static files of our application, we only need to put generated files to the docker image.
Test Docker Image #
Now, let’s test the docker image if it can render our Nuxt.js application.
docker run -ti -p 3001:80 nuxt-k8s
If you access localhost:3001, you will access your built application.
Conclusion #
In this tutorial, we created Nuxt.js with Buefy CSS framework. Then, we could create a Dockerfile with multiple stages which enabled us to reduce an enormous amount of space of the docker image. Finally, we could build and test our docker image.
I am going to continue this tutorial series on the
Continue this tutorial on How to deploy Nuxt JS on Kubernetes Cluster (Part 2).